
Home Assistant on a Sonoff NSPanel Pro
Before we get started, I want to thank Blakadder who did all the hard work to figure this out, and who hosts most of the files I link to in this article. If you use this page to set up your NS Panel Pro, I strongly urge you go to go Blakadder’s website and buy him a coffee using the donation link.
The first step is to power the Sonoff device on and go through the on screen setup to choose your location and connect it to your wifi.

I then had to add it to the eWeLink app on my phone, which is annoying, by scanning the QR code and following the instructions.

We now need to turn on developer mode on the device and enable ADB access, which lets us connect to it from our computer to install a bunch of stuff onto it. This is similar to what I had to do with my original T6E panels, but thankfully Sonoff let you do this remotely rather than having to crack it open and plug in a USB cable.
To turn on developer mode open the device in the eWeLink app and go to the device settings by clicking the three dots in the top right. Then scroll down and repeated click on the Device ID item. Just keep mashing it until it tells you that developer mode has been turned on.
Then, click the new developer mode option that appears and turn on ADB.

ADB stands for Android Debug Bridge, which opens up a back door for you to log into the guts of Android and mess with things. It’s sort of like SSH for Android.
To Sonoff’s credit, at least they put this option in their app. Many other smart home manufacturers that use Android make this very difficult.
Once we have ADB access we go back to our device, go into settings, about and make a note of its IP address as we’ll need it next.
The next steps are all done on your PC, in the command prompt or shell if you’re on a mac or linux.
Your computer needs to have the ADB drivers and Android Platform Tools installed, which you can download and install from these links:
Open up a command prompt, and navigate to the folder that you installed the platform tools into. Now run the following commands to connect to the NS Panel from your computer
adb tcpip 5555adb connect <IP ADDRESS YOU WROTE DOWN>adb devices -lYou should see your panel connected when you run that last command.

You now need to download some Android applications, and copy them to the same folder that your platform tools are installed into.
Once the APK files are downloaded, we’ll start installing them. The first one being the launcher.
In your command prompt or shell, run the following adb install command.
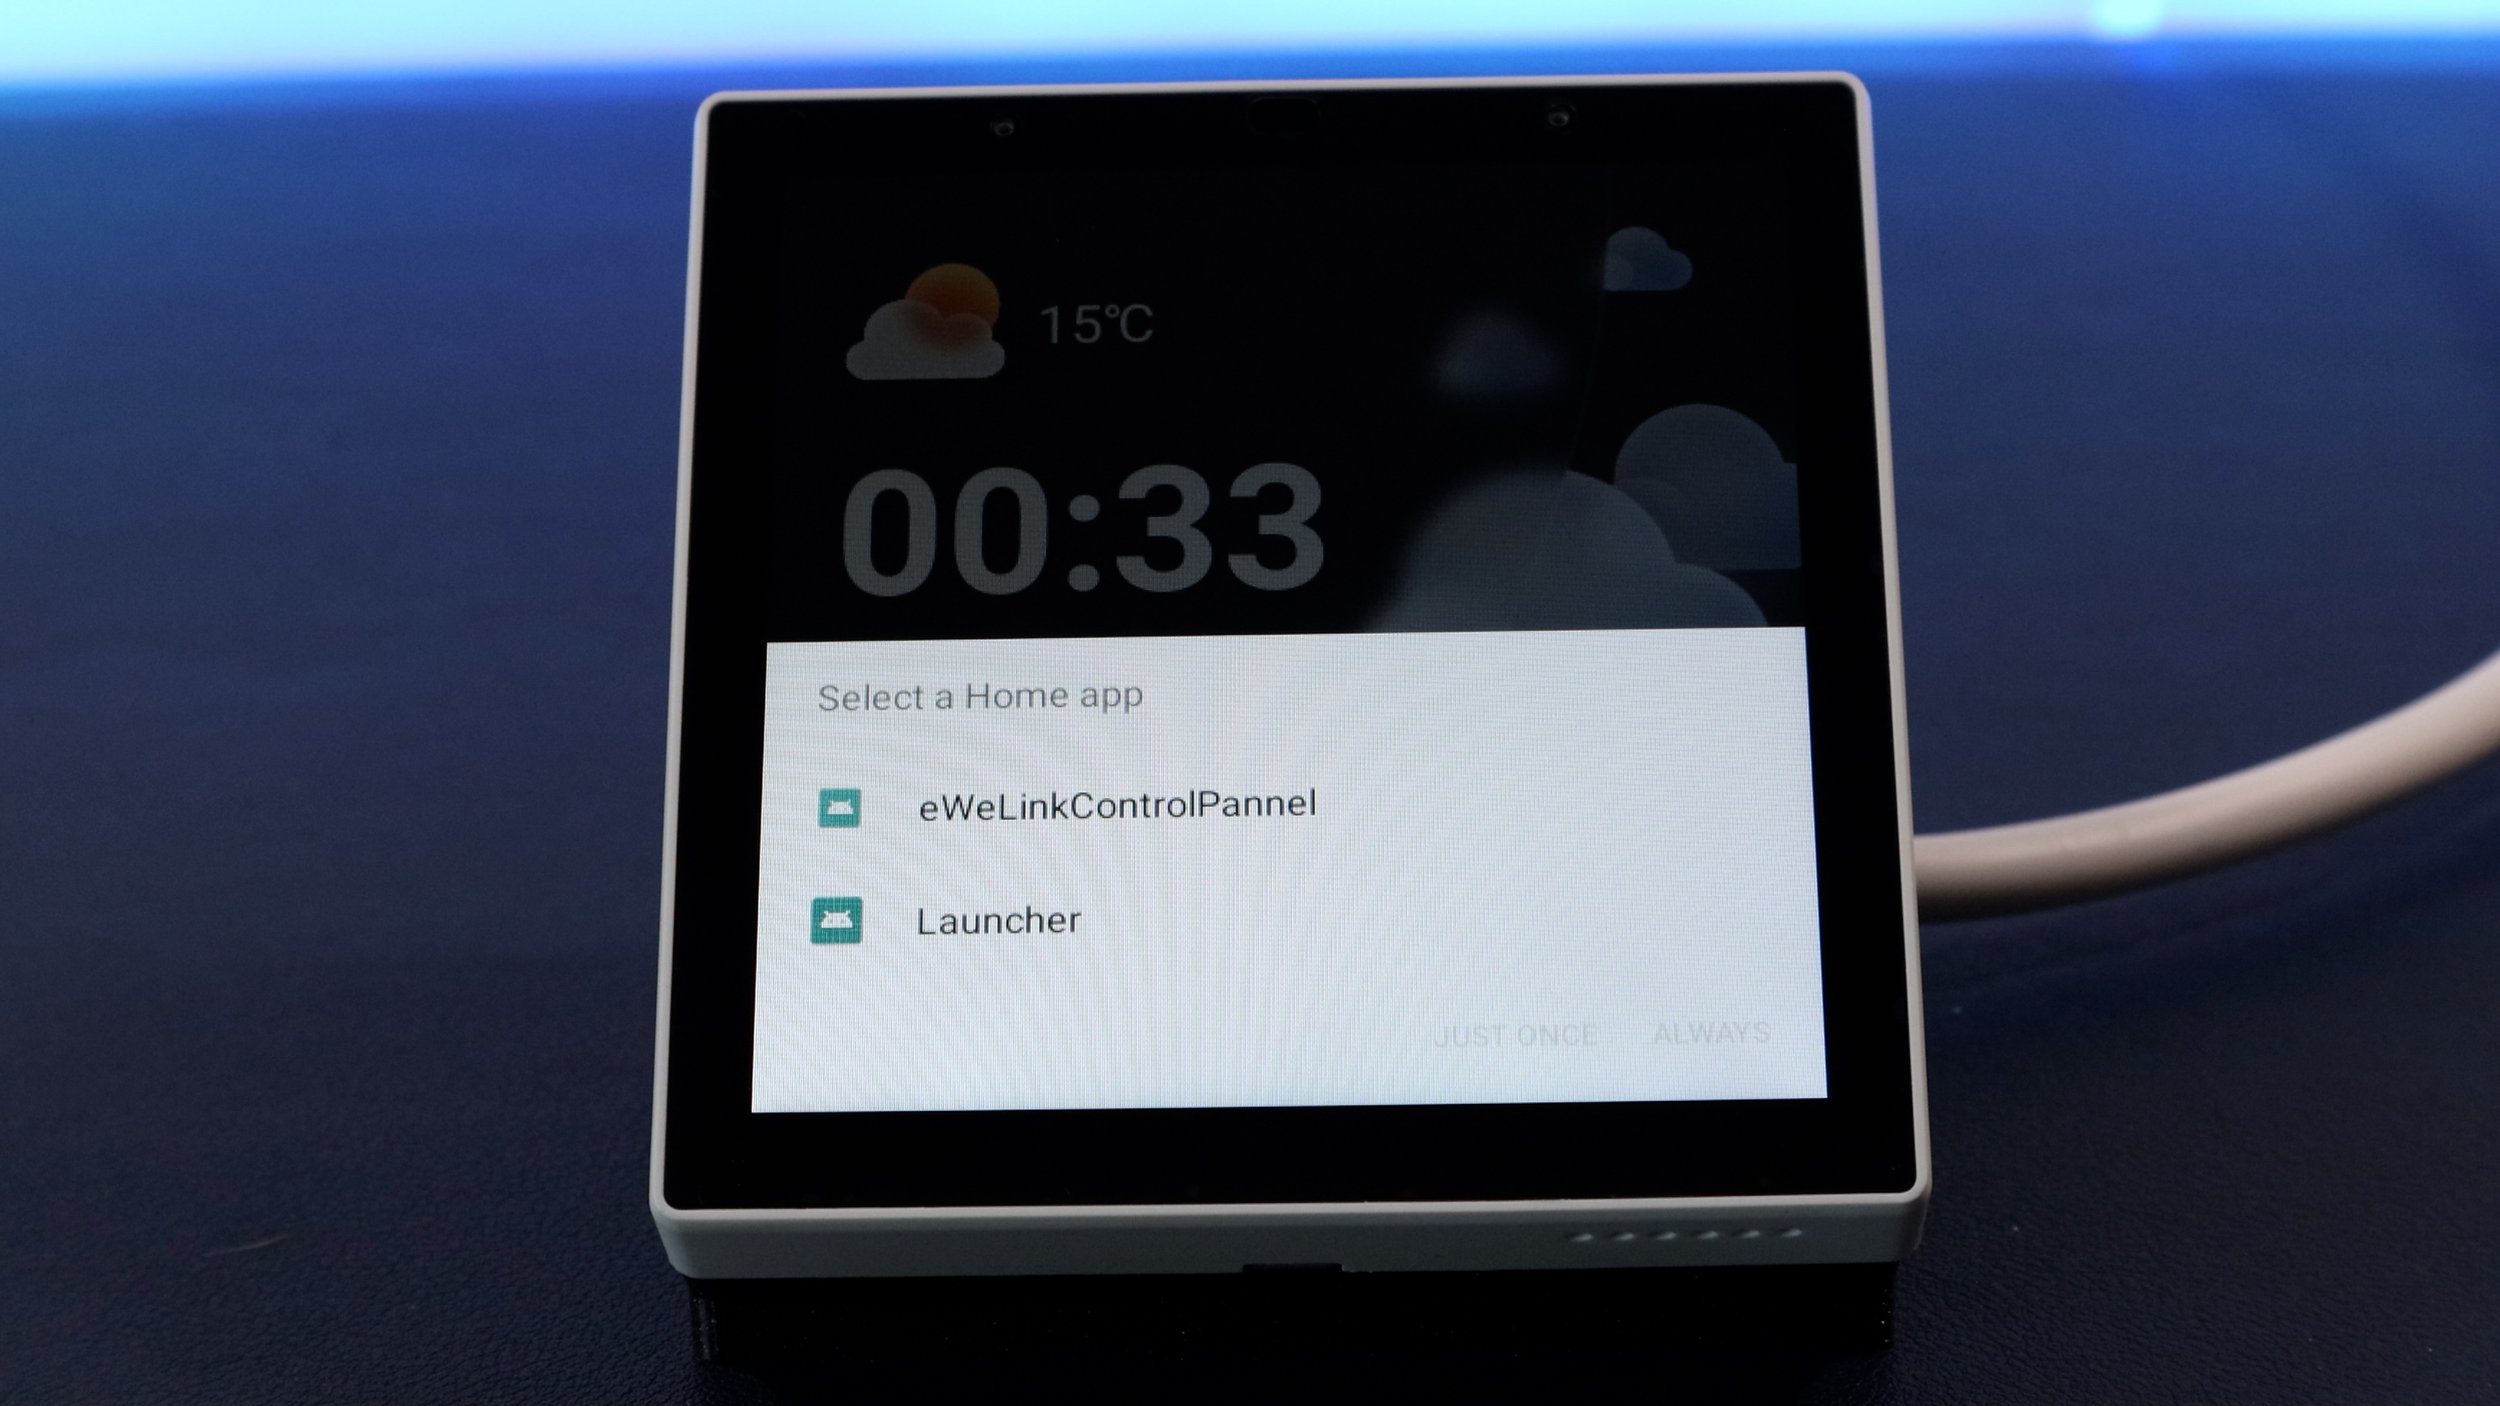
adb install ultra-small-launcher.apkThis will install the launcher, and then you need to simulate a home key press like this.
adb shell input keyevent 3You should see the option to select the Launcher and set it as the default by clicking Always.
Now each time you reboot the device it will open to that desktop rather than the Sonoff stuff.

From here I recommend that you go to the settings, and turn on the bottom navigation bar so you can go back and home like you can on an Android phone.

Next you need to update the webview, which is sort of like the web browser of the device. This is the thing that will render the Home Assistant dashboards properly.
adb install <The name of the webview APK you downloaded>Then you need to go back to the device, settings, system, about, and once again repeatedly tap the build number to enable developer mode.

Go back to the developer options, then Webview and make sure the latest version is selected. For some reason mine only had one version listed and it works fine.

Finally, I installed the Fully Kiosk browser to show my dashboards which you can download directly from their website and push over to the device with an adb install command.
adb install <name of Fully Kiosk APK>

And finally the NS Panel Pro Tools.

adb install <name of NS Panel Pro Tools>
Back over at the device, you should see the Fully Kiosk icon available in the launcher.

Fire it up and you can swipe in from the left hand side to go to the settings. In the web content settings you can specify a start URL, and here’s where you can type in the URL of the home assistant dashboard you want to load up.

I also recommend going to the Device Management section and turning on the Launch on Boot option, so that the Home Assistant dashboard fires up if you restart the device.

Now, when you go back to the start url or open fully kiosk again, it will load up the Home Assistant dashboard you typed in and ask you to log in. Make sure that the Keep me logged in box is ticked.

